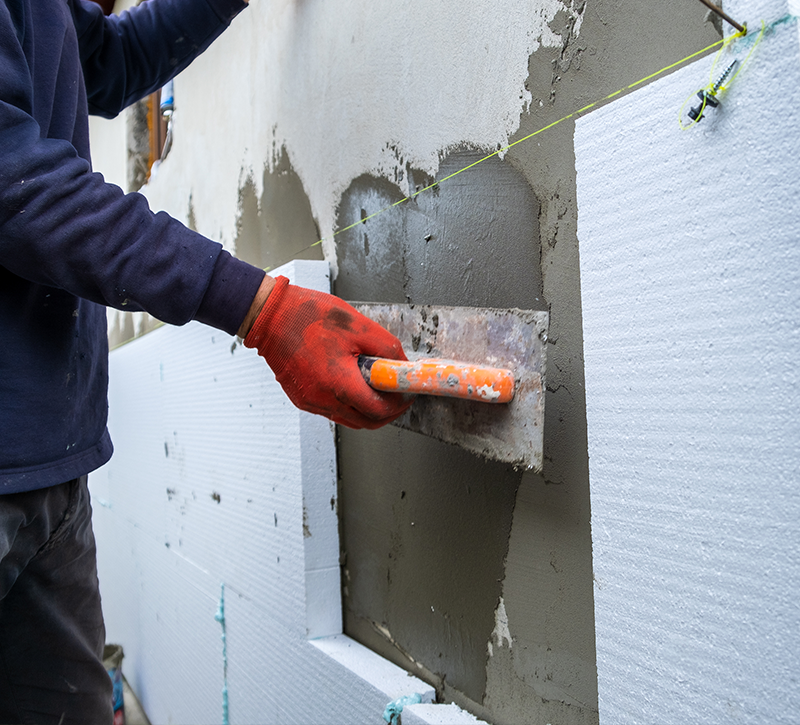
Install Foam Board Insulation

Installing foam board insulation is a great way to improve the energy efficiency of your home and reduce your heating and cooling costs. Here's a step-by-step guide to help you install foam board insulation:
Measure the Area
The first step is to measure the area where you want to install the foam board insulation. Measure the height and width of the walls or ceiling and multiply the two numbers to get the total square footage. This will help you determine how much insulation you'll need to purchase.
Choose the Right Insulation
Foam board insulation comes in a variety of types and thicknesses. Choose the type and thickness that's appropriate for your specific needs and the area you'll be insulating.
Prepare the Surface
Before foam board installation, you'll need to prepare the surface by cleaning it and removing any debris or obstacles. If necessary, patch any holes or cracks in the wall or ceiling.
Cut the Insulation to Size
Using a utility knife or insulation saw, cut the foam board insulation to the correct size for your space. Be sure to wear gloves and safety goggles during this step, as foam insulation can be messy and potentially harmful.
Apply Adhesive
Apply adhesive to the back of the foam board insulation, making sure to cover the entire surface. Use a notched trowel to create a pattern that will help the insulation adhere to the wall or ceiling.
Install the Insulation
Carefully place the foam board insulation onto the prepared surface, pressing firmly to ensure a secure bond. Use a straight edge or level to ensure the insulation is straight and even.
Seal the Edges
Use foil tape or foam sealant to seal the edges of the foam board insulation, creating a tight seal that will prevent air leakage and improve the insulation's effectiveness.
Installing foam board insulation is a relatively simple process that can have a big impact on the energy efficiency of your home. By following these steps and taking the time to properly install the insulation, you can reduce your energy costs and create a more comfortable living environment.
Few tips and tricks that can help ensure your installation is a success. Here are some things to keep in mind:
Use the Right Tools
To install foam board insulation, you'll need a few basic tools, including a utility knife or insulation saw, a straight edge or level, a notched trowel and foil tape or foam sealant. Make sure you have all the necessary tools on hand before you begin your installation.
Choose the Right Type of Insulation
Foam board insulation comes in several different types, including expanded polystyrene (EPS), extruded polystyrene (XPS) and polyisocyanurate (polyiso). Each type has its own benefits and drawbacks, so make sure you choose the right type of insulation for your specific needs.
Install the Insulation Correctly
Proper installation is key to the effectiveness of foam board insulation. Make sure you measure the area accurately, cut the insulation to the right size, and apply the adhesive evenly. Use a notched trowel to create a pattern that will help the insulation adhere properly to the surface.
Seal the Edges Carefully
One of the most important steps in installing foam board insulation is sealing the edges carefully. Use foil tape or foam sealant to seal the edges, creating a tight seal that will prevent air leakage and improve the insulation's effectiveness.
Consider Hiring a Professional
While foam board insulation is a relatively simple DIY project, it's important to recognize your limitations. If you're not comfortable working with tools or if you're unsure about your ability to install the insulation correctly, consider hiring a professional.

 Rated Excellent