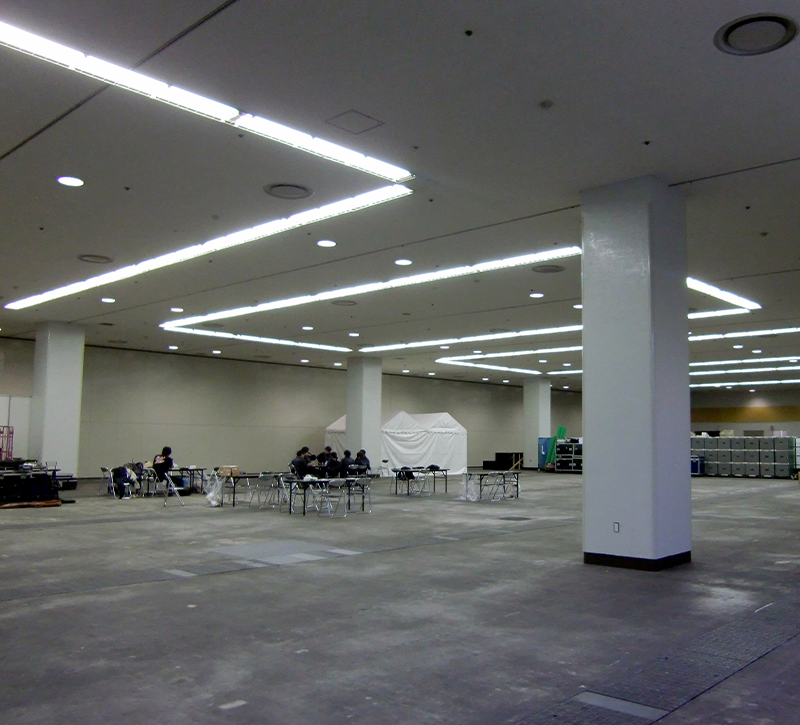
Installing Insulated Recessed Light

Recessed lighting is an ideal choice for homeowners looking to properly light a room without taking up a lot of physical space. Because the lights are installed in the ceiling, they provide more coverage area than other lighting methods and can be spaced out to illuminate every corner of your room.
This is especially helpful in larger living spaces such as kitchens, living rooms, and closets, where it's important to have even illumination. Not only do recess lights add to the aesthetics of a room with their subtle, uniform style, but they also provide all the benefits of having ample lighting.
Are you looking for an easy way to add a touch of sophistication to your home? Installing insulated recessed light can be an inexpensive and easy way to do that. This type of lighting offers a modern and stylish look, as well as energy efficiency. Read on to find out more about the benefits and installation process of insulated recessed lighting.
The Benefits of Insulated Recessed Lighting
Insulated recessed lighting is perfect for any DIY enthusiast looking for a modern upgrade. It is known for its sleek design, which can greatly enhance the aesthetics of any room. Moreover, it is energy efficient and provides bright light without using too much electricity. Additionally, this type of lighting requires less maintenance than other types due to its durable construction and insulation material.
Installing Insulated Recessed Lighting
The installation process of recessed light insulation is simple enough that most people with basic knowledge can do it themselves. The first step is to turn off the power in the room where you will be working. Once this has been done, you need to measure out where the insulation will be placed, then drill holes into the ceiling for the lights and wiring. After that, install the wiring through the hole and into the junction box on top of each light fixture. Then attach each light fixture to its respective junction box before connecting all wires together according to manufacturer instructions. Finally, screw each light in securely and turn on the power again your new insulated recessed lights are now ready to use!
Installing insulated recessed light is an excellent way to add sophistication and style while being energy efficient at the same time. With this guide, you have everything you need to know about installing these lights yourself like a DIY pro! So turn off your power, grab your tools, and get ready for an upgrade! With insulated recessed lighting, you can add elegance without breaking your budget or spending too much time on complex installation processes.
 Rated Excellent